

In real life we generally have more than one template. Moreover, if we create a website with several pages, it usually happens that a number of them are of the same design. The template systems should consider this aspect. Unfortunately, ejs doesn’t deal very well with this task. That’s why we are going to install a different templating system named ejs-locals(let us add it to app.js):
app.engine('ejs', require('ejs-locals'));
app.set('views', __dirname + '/templates');
app.set('view engine', 'ejs');
This is almost the same as ejs, but with a number of essential opportunities, such as layout, block, partials. Let us look at them now.
Install the module:
npm i ejs-locals
We’ve used the directive app.engine to inform Express that “files with this extension need to be handled by the template engine require('ejs-locals') instead of standard ejs.”
Once more we draw your attention to the fact that there are many great temlating systems in Node.js. Here we use ejs just because it really resembles HTML and requires minimum time for studying.
Look for the template in template/index.ejs , now it will look like:
<p class="lead">Hey all!</p>
Further let us create template/layout/page.ejs with this code:
<!DOCTYPE html>
<html>
<head>
    <title><%=blocks.title%></title>

    <link rel="stylesheet" href="/vendor/bower_components/bootstrap/dist/css/bootstrap.css"/>
    <link rel="stylesheet" href="/css/app.css"/>

    <script src="/vendor/bower_components/jquery/jquery.js"></script>
    <script src="/vendor/bower_components/bootstrap/dist/js/bootstrap.js"></script>
</head>
<body>
<header>
    <%-blocks.header%>
</header>
<section class="container">

    <%-partial('../partials/topNavigation')%>

    <h1><%=blocks.title%></h1>

    <%-body -%>
</section>
<footer>
    <%-blocks.footer%>
</footer>
</body>
</html>
Layout is some formatting that we insert into a separate file and specify, where we should insert body( <%-body -%>). In any other template we can indicate this. For example, in template/index.ejs we will write:
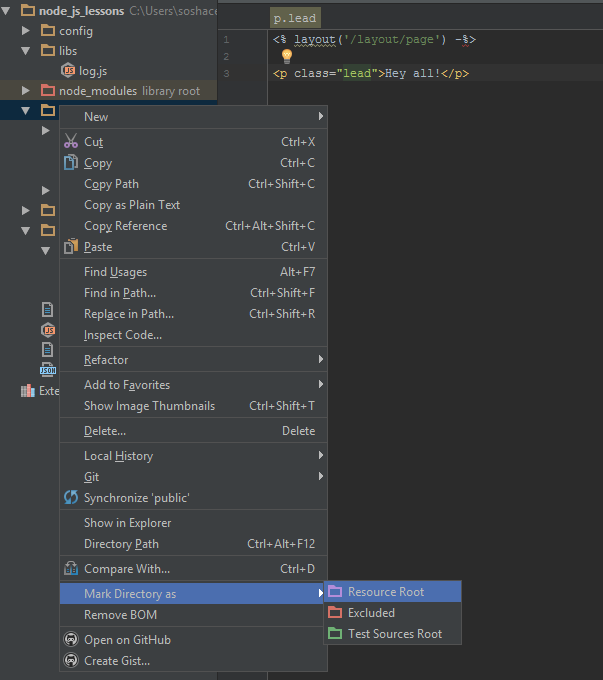
<% layout('/layout/page') -%>

<p class="lead">Hey all!</p>
So, while handling this template, ejs will upload layout/page, output it, and the body template/index.ejs will be put into template/layout/page.ejs:
<%-body -%>
So, if we’ve got a lot of pages of the same design, we can just show layout to them. The path is better to be shown this way for the correct work of Windows.
We put a slash, but you can ignore it as well:
<% layout('layout/page') %>It simply means, the first line feed following the directory needs to be ignored. It is sometimes quite handy in order to avoid extra line feeds that turn into spaces in HTML. But in this case, it is not that vital.
Let us take a look at page.ejs once more. Here we use Bootstrap and jQuery libraries. In order to put them properly, let us globally install the module
npm i –g bower
‘Bower’ is an utility that allows you to install various front-end libraries seamlessly. Вootstrap and jQuery will be installed in the public directory:
cd public
let us create here a special subdirectory vendor:
mkdir vendor
It won’t contain our JavaScript and CSS, but third-party ones:
cd vendor
and then let us install:
bower i jquery bootstrap
The directory appeared, but IDE is still showing the files are not found. It happens because it doesn’t know where to find them. Let us edit the settings.
Everything’s ok with the files now.
Let us create app.css in the directory public/css/app.css
The next thing we need to look at here is the system of blocks.
<title><%=blocks.title%></title>
Let us imagine, we want to create something out of our template index.ejs that we will need, in particular, in layout. For example, a page header. I want to see a header that is not global for layout within page.ejs , in title , i.e. it can be different and is created strictly in the template. How can I do this? For that task, I’ve got blocks:
<% block('title', 'Hello ≥︺‿︺≤'); -%><br>Further the template will care about the text, which will be added to a certain variable accessible through: blocks.title.
Here (template/layout/page.ejs) we’ve made it in the way for the whole content of this variable %= is to be shielded, which means the symbols get changed for special HTML elements. And if we want to have the same view, we can put %-blocks….
We will also need to create topNavigation.ejs within the directory templates/partialsj, and we will talk about partials a little bit later:
<nav class="navbar navbar-default" role="navigation">
    <ul class="nav navbar-nav">
        <li><a href="/">Main</a></li>
    </ul>
    <ul class="nav navbar-nav navbar-right">
        <li><a href="/login">Enter</a></li>
    </ul>
</nav>
Ok, let’s see. Launch it. Follow:
http://localhost:3000/
It’s perfect!
So, the blocks are used where we need to insert some content into templates just because it would be unnecessary in JavaScript.
The last component of the templating system we will study is partials. It is contained in our page.ejs . It is a sub-template put into a separate file:
<%-partial('../partials/topNavigation')%>Here you can find various options that may be transferred to this template. If it is interesting for you, you can find them in our supporting materials. There you can find a more detailed description of these features. In our case, you can treat partials as a simple addition, connection of one template to another.
Further we will add various components to the template structure. The only thing we need to change right now is a variable body:
<%-body -%>
Here we use the templating mechanism, so you cannot put it here (app.js):
app.get('/', function(req, res, next) {
  res.render("index", {
  });
});
If you leave it here, it won’t work correctly and our message won’t be outputted (templates/index.ejs):
<p class="lead">Hey all!</p>
To make everything work well, just move it from there. So, that’s it. Next time we will talk about MongoDB.
The lesson code can be found here.

The materials of this article were borrowed from the following screencast.
We are looking forward to meeting you on our website soshace.com