Defenition: POS – “Point of Sale”. At the point of sale, the merchant calculates the amount owed by the customer, indicates that amount, may prepare an invoice for the customer (which may be a cash register printout), and indicates the options for the customer to make payment.
Before we add more features to our POS app, we need to optimize and restructure the app for better performance and clarity. Also, we will introduce a deployment pipeline so that when we commit code changes to GitHub, the app is automatically deployed to Heroku and Netlify.
This is the list of the tasks we have to complete during this chapter.
- [ ] separate backend and frontend
- [ ] add environment variables to the backend
- [ ] add environment variables to frontend
- [ ] separate to individual route
- [ ] setup auto-deployment of backend and frontend through Github
So, let’s get started.
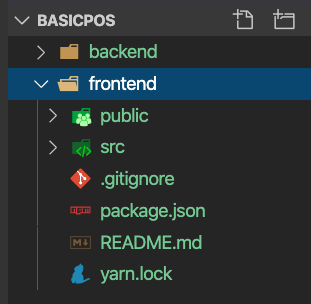
[✔️ ] Separate backend and frontend
We will remove the backend folder from the backend folder and move it outside. We also need to uninstall and reinstall the node modules.
[✔️ ] Add an environment variable to the backend
We will install the dotenv package to easily maintain keys and prevent API keys from being exposed to the outside world.
npm install dotenv
Import the package to index.js.
require("dotenv").config({ path: __dirname + "/.env" });Create a .env file in the root directory and add our API key to the file in a key-value structure.
MONGODB_URL=mongodb://localhost:27017/basicpos
JWT_SECRET=qwertyuiopasdfghjklzxcvbnm123456
SENDGRID_API_KEY=SG.EaHyDwHnQN6I4SXQKaNo6g
Replace the keys we previously used in backend files using process.env.<key-name>.
sgMail.setApiKey(
   process.env.SENDGRID_API_KEY
);
[✔️ ] Add an environment variable to frontend
When using create react app, it is easier to maintain the environment variables. You can refer to the official document to see find out more details.
- Create .env file.
- Add a new variable to the .env file ( have prefix REACT_APP_ ).
eg.REACT_APP_API_URL=http://localhost:8080/ - Replace the old static string.
 axios

.post(process.env.REACT_APP_API_URL + "login", values) - Restart the server.
[✔️ ] Separate routes
As our app expands and the number of routing endpoints increases, keeping all route access points in a single index.js file is not a good practice. Therefore, we reorganize our backend by moving all the routes to a new folder which has a main route access point. Then, we need to import these routes to the index.js file.
First, we will create a new api.js file and configure it as the main route access point.
const express = require("express")
const router = express.Router()
require("./db")
router.use(require("./api_auth"))
// router.use(require("./api_product"))
// router.use(require("./api_employee"))
// router.use(require("./api_customer"))
// router.use(require("./api_pos_machine"))
// router.use(require("./api_branch"))
module.exports = router
The commented routes will be taken into use in the upcoming chapters.
Now, create a file named api_auth.js inside the route older and move all the routes that relate to authentication from index.js into this. Here, replace the occurrences of ‘app’ with ‘router’.
const express = require("express");
const router = express.Router();
const Users = require("./models/user_schema");
const jwt = require("./jwt");
const bcrypt = require("bcrypt");
const formidable = require("formidable");
const path = require("path");
const fs = require("fs-extra");
const jsonwebtoken = require("jsonwebtoken");
const sgMail = require("@sendgrid/mail");
sgMail.setApiKey(process.env.SENDGRID_API_KEY);
router.post("/login", async (req, res) => {
.......//colapse code
});
router.post("/register", async (req, res) => {
.......//colapse code
});
router.get("/activation/:token", async (req, res) => {
 .......//colapse code
});
router.post("/profile", async (req, res) => {
.......//colapse code
});
uploadImage = async (files, doc) => {
.......//colapse code
};
router.put("/profile", async (req, res) => {
.......//colapse code
});
router.post("/password/reset", async (req, res) => {
.......//colapse code
});
router.put("/password/reset", async (req, res) => {
.......//colapse code
});
module.exports = router;
Import api.js to index.js.
app.use("/api/v1", require("./api"))[✔️ ] Separate repository
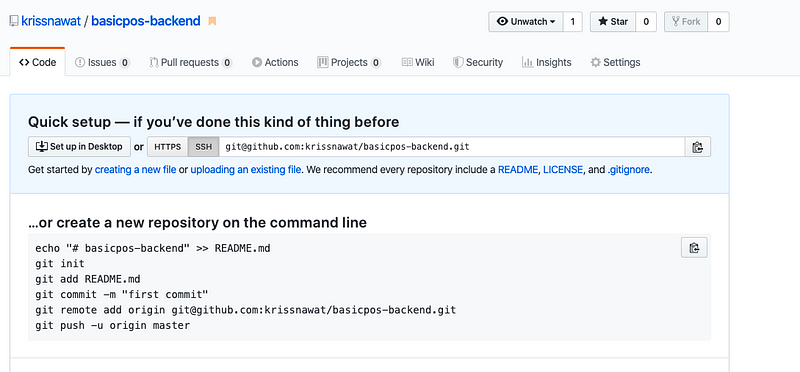
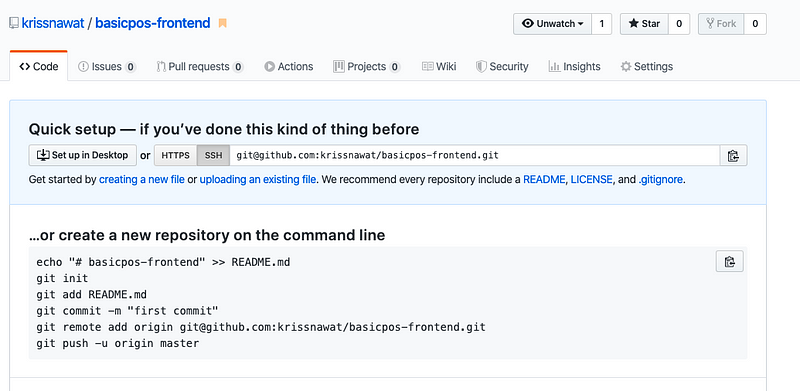
We need to create a new repository for the backend.
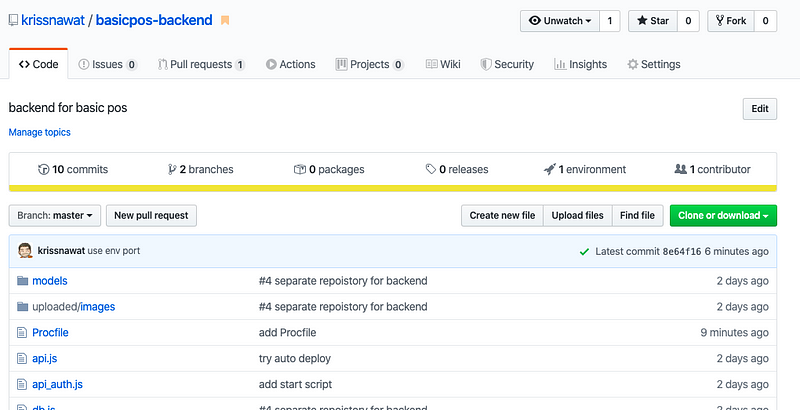
Push the locally changed code to GitHub.
[✔️ ] Deploy Node backend to Heroku
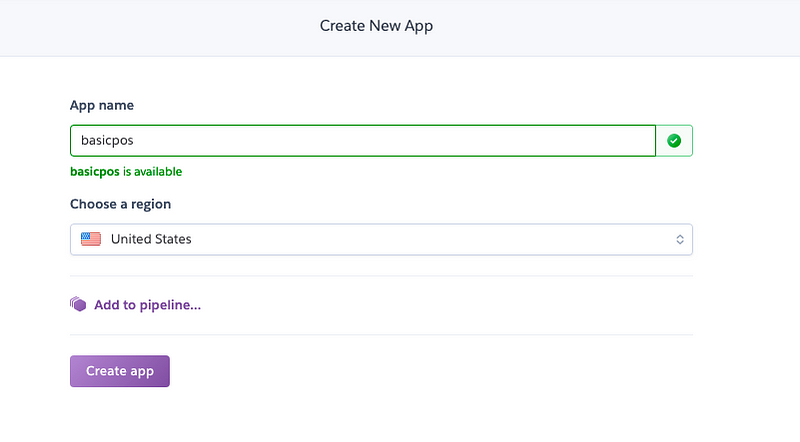
Heroku is one of the top cloud providers that provide a simple way to deploy apps using Nodejs backend. Before deploying to Heroku, we need to build the app. This can be achieved by setting up automatic deployment from Github so that the whole process takes just one click.
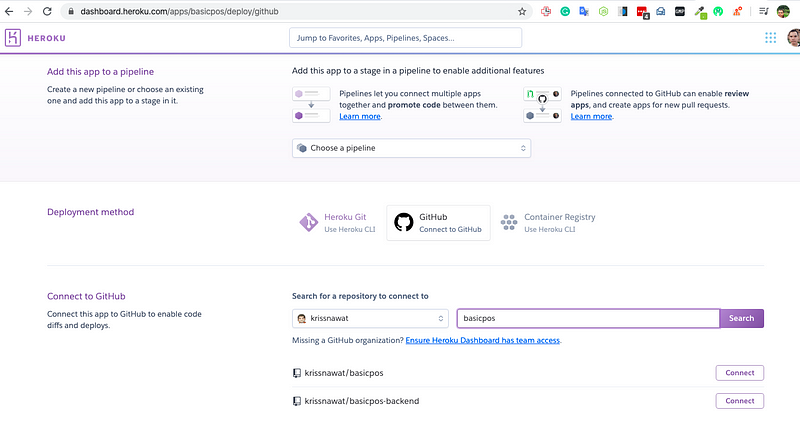
Set up auto-deploy from Github.

Select the auto-deploy option to the auto-deployment.
Setup env key in Heroku
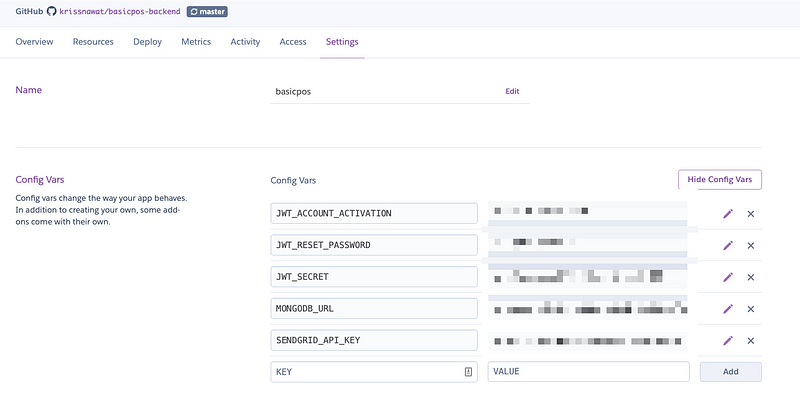
We need to add all the environment variable keys into Heroku setting
We need to configure the app to use the Heroku port. Add the following code line to achieve this:process.env.PORT
app.use("/api/v1",require("./api"))
const port = process.env.PORT || 8080;
app.listen(port, () => {console.log("Server is running... on port " + port);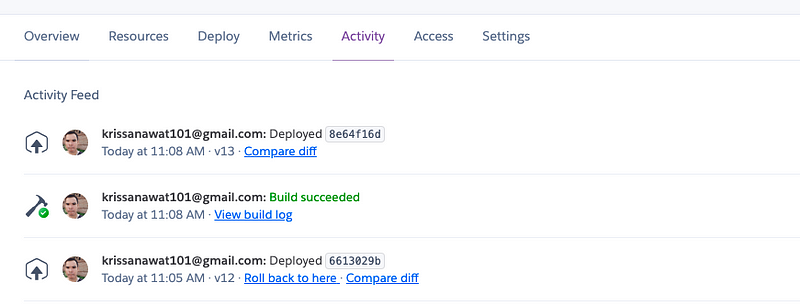
Now, every time you push the code to GitHub you will see Heroku auto-deploy activity in the Activity tab.
Now try to open the app.
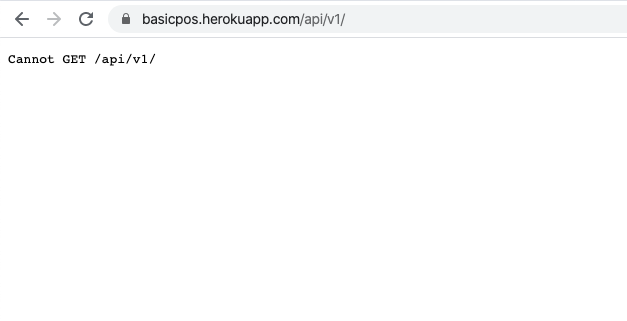
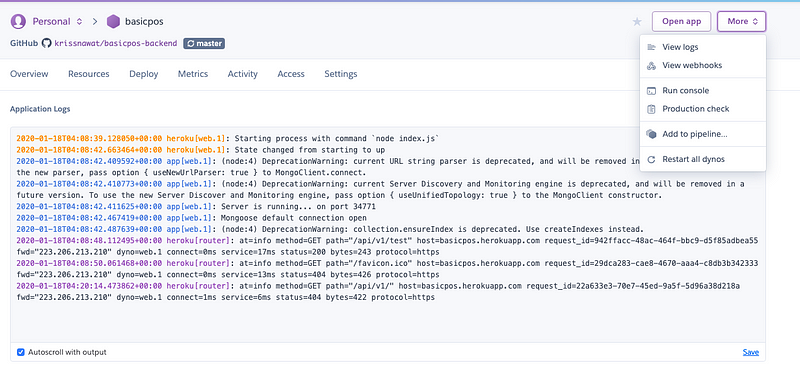
We are getting a not found error. In Heroku, if something goes wrong, you can view the app log to figure out the problem.
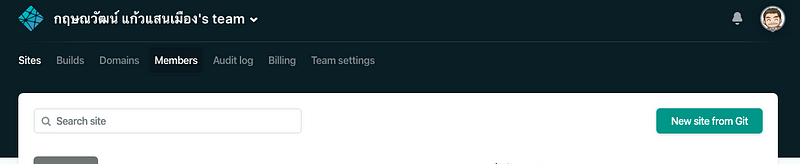
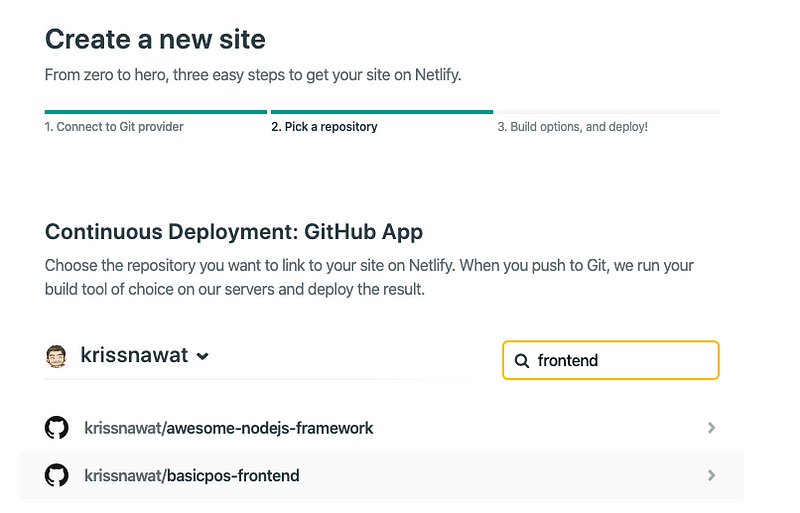
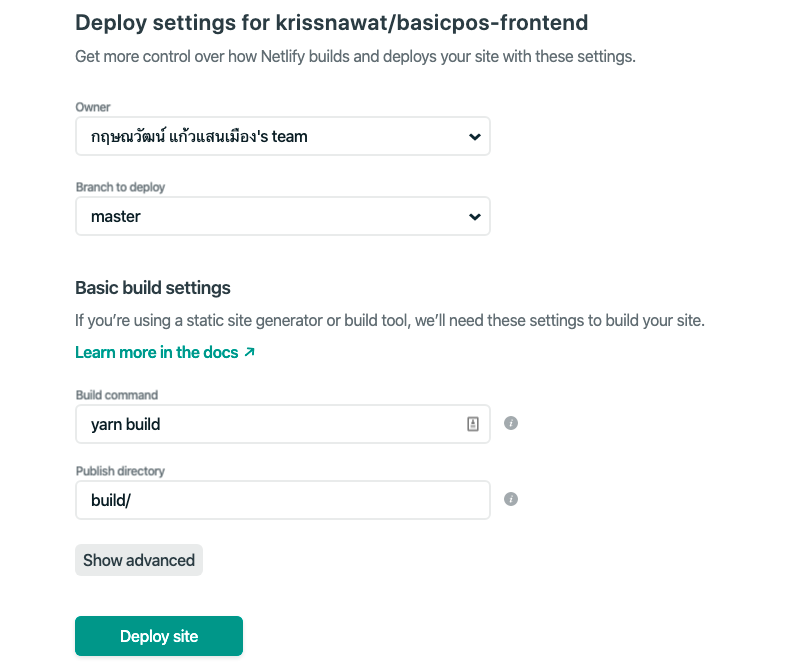
[✔️ ] Setup auto deployment from GitHub to Netlify
We can use Heroku to host the frontend. But we have another better option to use Netlify. Netlify is a dedicated service for static hosting.
Get the backend API url to be used in the frontend.
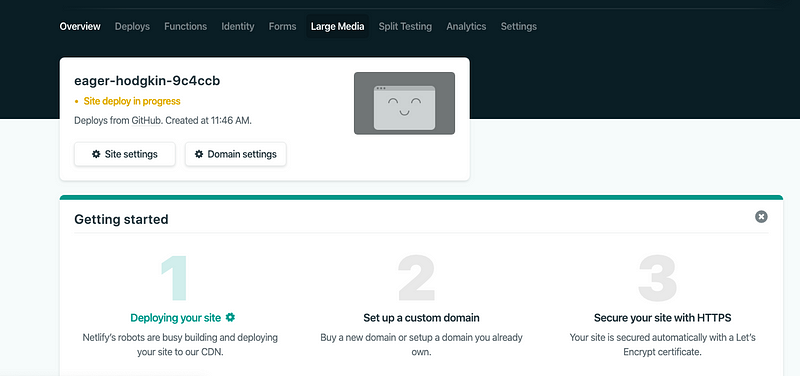
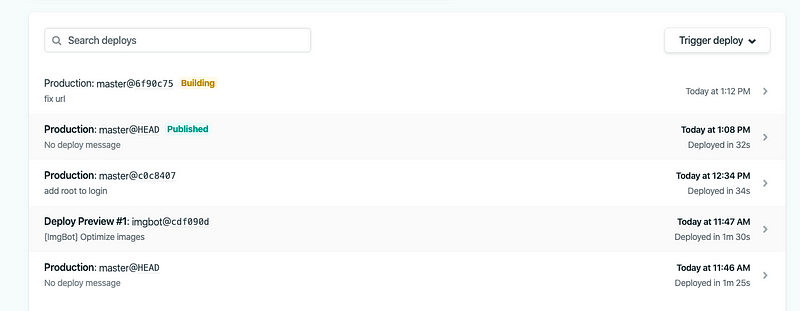
Here, you can see deploy activities.
Now we can open our live app hosted on Netlify.
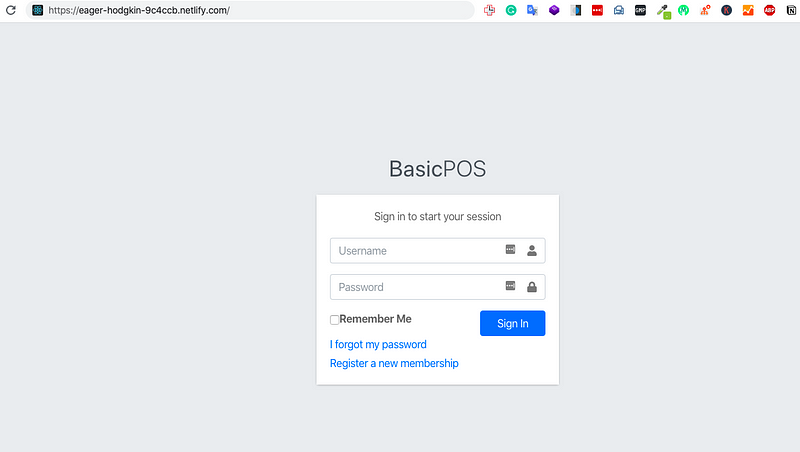
You can see a demo of the application here.
Web site created using create-react-appeager-hodgkin-9c4ccb.netlify.com
Conclusion
In this chapter, we learned how to setup environment variables on Node and React. Then we learned how to use the express router to organize the backend structure. Finally, we learned how to set up auto-deployment from Github to Heroku and Netlify.
Git repos:
https://github.com/krissnawat/basicpos-backend
https://github.com/krissnawat/basicpos-frontend
Credit
Previous lessons:
Create simple POS with React, Node and MongoDB #3: setup E-mail pipeline with add activate on SignUp
Create simple POS with React, Node and MongoDB #2: Auth state, Logout, Update Profile
Create a simple POS with React, Node and MongoDB #1: Register and Login with JWT