
Integrating graphql into django
Introduction
GraphQL is an API querying language which was developed at Facebook in the year 2012 for internal use. It was later open-sourced in 2015. According to the Graphql official website :
“GraphQL is a query language for APIs and a runtime for fulfilling those queries with your existing data. GraphQL provides a complete and understandable description of the data in your API, gives clients the power to ask for exactly what they need and nothing more, makes it easier to evolve APIs over time, and enables powerful developer tools.”
The client can ask for the data they need in the response without any additional data, meaning you control the structure of the data you want. Access to many resources in a single request.
Talking about the powers of GraphQL is beyond the focus of this article, visit the official website for more information on GraphQL.
In this tutorial, we will focus on how we can integrate GraphQL into a Django project and effectively use it to query API for effective result.
Prerequisite for this tutorial:
- You have python installed on your local machine
- Basic knowledge of python
- Basic knowledge of Django
- Internet connection
We will be building a simple product catalog for use in this integration which we will expose the data via our GraphQL endpoint. So let’s get to work.
Project Setup
Creating our Project folder
To begin, let’s create a directory for our new project we will be working on, open your terminal and navigate to the folder you will want to save the project. Run the following command:
$ mkdir graphql-product-catalog
let change the current directory we are on now to the newly created directory
$ cd graphql-product-catalog
Creating and activating our project virtual environment
It’s also important in python to always create a virtual environment for any project you begin which there will be need to install new packages, this ensures that the packages are always unique to the projects and will not result in updating packages in other projects on your local machine that can end up breaking your working projects.
let’s run the below command:
$ python -m venv env
Here I called my new environment env, which creates our python environment in a directory env.
Next, we need to activate the environment to get us working for here.
$ . env/bin/activate
Installing Django in our environment
Now that we have our environment, we need to install Django in it, It is really saved to install any version of Django now and it will not affect the versions use in other projects we have on our local machine. Let’s install Django by running the following commands.
$ pip install django
Creating the project
Now that we have Django installed, let now move on to create our project by running the following command:
$ django-admin startproject product_catalog
Here we are using the django command-line tool django-admin to create our project, which will be created in a directory call product_catalog.
Next, we will need to navigate into the product_catalog directory by running the following command:
$ cd product_catalog
where we have a directory structure similar to:
+-- _product_catalog
|   +-- __init__.py
|   +-- settings.py
|   +-- urls.py
|   +-- wsgi.py+-- manage.py
Creating our catalog app
Sections of the Django project are call apps, Massive Django projects can have as many apps as possible. We will need to create one app for our product catalog call catalog. So we will proceed by running the following command:
$ django-admin startapp catalog
The command creates a directory call catalog with the following structure
+-- _catalog
|   +-- _migration
|       +-- __init__.py
|   +-- __init__.py
|   +-- admin.py
|   +-- apps.py
|   +-- models.py
|   +-- tests.py
|   +-- views.py
The entire project structure should now look like this
+-- _product_catalog
|   +-- __init__.py
|   +-- settings.py
|   +-- urls.py
|   +-- wsgi.py
+-- _catalog
|   +-- _migration
|       +-- __init__.py
|   +-- __init__.py
|   +-- admin.py
|   +-- apps.py
|   +-- models.py
|   +-- tests.py
|   +-- views.py
+-- manage.py
Next lets structure our catalog app models. in the models.py file inside the catelog folder, lets add the following code
from django.db import models
# Create your models here.
class Category(models.Model):
    name = models.CharField(max_length=255, unique=True)
    description = models.TextField(max_length=255)

    def __str__(self):
        return self.name

class Product(models.Model):
    name = models.CharField(max_length=255)
    description = models.TextField()
    price = models.DecimalField(max_digits=10, decimal_places=2)
    quantity = models.IntegerField()
    category = models.ForeignKey(Category, on_delete=models.CASCADE, related_name="products")

    def __str__(self):
        return self.name
Here we define our Category model to organize the products in categories and then our Product model too with a relationship to the Category.
We need to register these models in our site admin, so open the admin.py file in the catalog app and add the following code:
from django.contrib import admin
from .models import Category, Product
# Register your models here.

admin.site.register(Category)
admin.site.register(Product)
Here we are just doing a basic registration and allowing Django the handle the rendering with the default settings.
Next, we need to make our app know by the project by registering it in the INSTALLED_APPS list on the settings.py file.
INSTALLED_APPS = [
    ...
    'catalog',
]
Since the project we are working on is a simple one, we will stick to the default database configuration for Django to use the SQLite database. Next is for use to prepare to migrate our catalog app tables by running the following command:
$ python manage.py makemigrations catalog
Next, we migrate our database by running the migration command below
$ python manage.py migrate
This will migrate our catalog models alongside Django related models for our database.
Next, we want to create our super user for the Django admin dashboard to enable us to create some categories and products from the dashboard. Now run the following command and follow the instruction the follows:
$ python manage.py createsuperuser
Next, we start our development server by running:
$ python manage.py runserver
By default, Django start our server on port 8000, but you can follow the command with a port number
$ python manage.py runserver 8001
now visit http://127.0.0.1:8001/ on the browser to see our app running
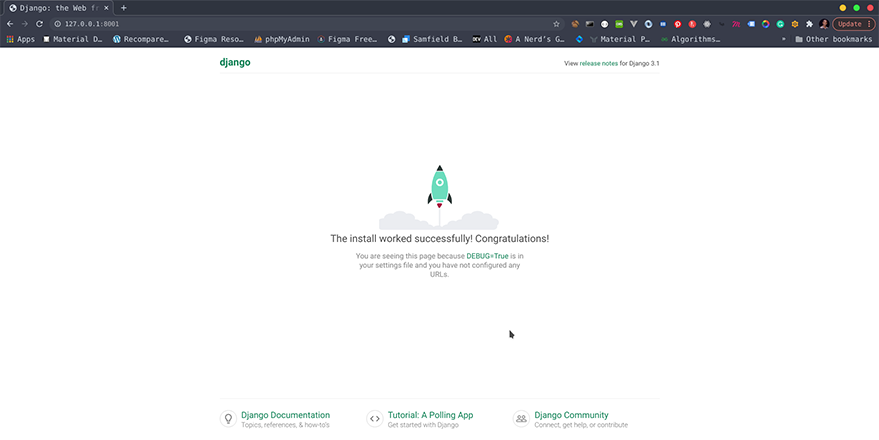
App home page
You can navigate to http://127.0.0.1:8001/admin to access the admin site using the credential we set up during the create superuser step above.
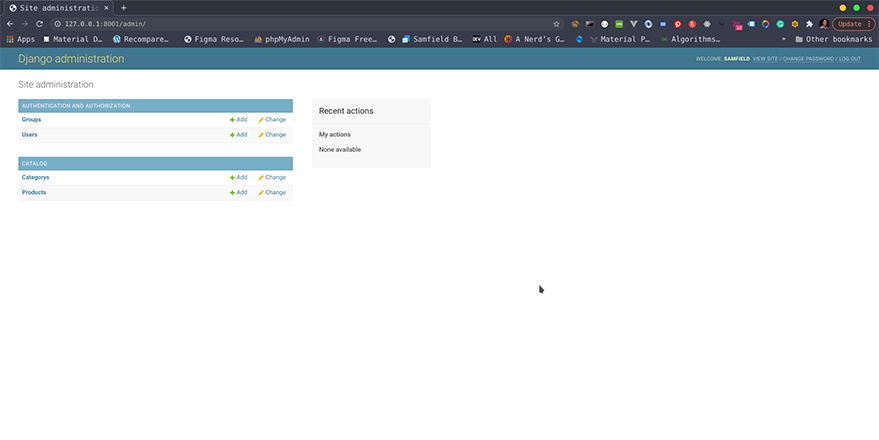
Django admin siteYou can proceed to add some categories and products to the app.
Integrating GraphQL
Now we will be integrating Graphql into the project to query our products. We will be using a package called Graphene-Django.
Let’s proceed to install Graphene-Django by running the following command on the terminal:
Note: validate that your environment is still active.
$ pip install graphene-django
Next, we will need to register the newly installed package in the INSTALLED_APPS list in settings.py.
INSTALLED_APPS = [
…
“django.contrib.staticfiles”, # Required for GraphiQL
“graphene_django”
]
If you notice we also registered django.contrib.staticfiles , this is required by Graphene-Django for rendering.
Next is for us to create an entry point to our graph. So let’s add the following lines to our urls.py :
...
from graphene_django.views import GraphQLView
urlpatterns = [
      ...
      path("graphql", GraphQLView.as_view(graphiql=True)),
]
this endpoint is where all communication to our graph will be made. looking at the above code we set graphiql=True which will enable the browser API for our graph, but you can set it to False if you don’t want the browser to be used for our graph.
Next is to tell graphene-Django where to find our schema. The schema is like the structure of our graph. Add the following code to our settings.py
GRAPHENE = { "SCHEMA": "catalog.schema.schema"}This will point to the schema.py file we are going to create in our catalog app.
Next, create the schema.py file in our catalog app folder with the following content :
import graphene
from graphene_django import DjangoObjectType
from .models import Category, Product

class CategoryType(DjangoObjectType):
    class Meta:
        model = Category
        fields = ("id", "name", "description", "products")

class ProductType(DjangoObjectType):
    class Meta:
        model = Product
        fields = ("id", "name", "description", "category", 'price', 'quantity')

class Query(graphene.ObjectType):
    products = graphene.List(
        ProductType,  category=graphene.String(required=False))
    categories = graphene.List(CategoryType)

    def resolve_products(root, info, category=None):
        if category:
            return Product.objects.filter(category__name=category)
       # We can easily optimize query count in the resolve method
        return Product.objects.select_related("category").all()

    def resolve_categories(root, info):
        return Category.objects.all()

schema = graphene.Schema(query=Query)
Here we created our schema for the Category and Product model by creating two class that inherits from the DjangoObjectType from the graphene_django module, supplying the models and the model fields we want to expose in our Graphql.
Next, we created a Query class that inherits from graphene.ObjectType class and supply the configuration for our Graphql queries. here we open up products and categories which is queryset are resolved by our resolve_products and resolve_categories methods of the class. These methods accept two required parameter (root and info), while the resolve_products accept an additional parameter category use for simple product filter by category.
Testing our app
Next, we start our app again if it has been shut down by running
$ python manage.py runserver 8001
visit http://120.0.0.1:8001/graphql on your browser to see the interactive screen for our Graphql.
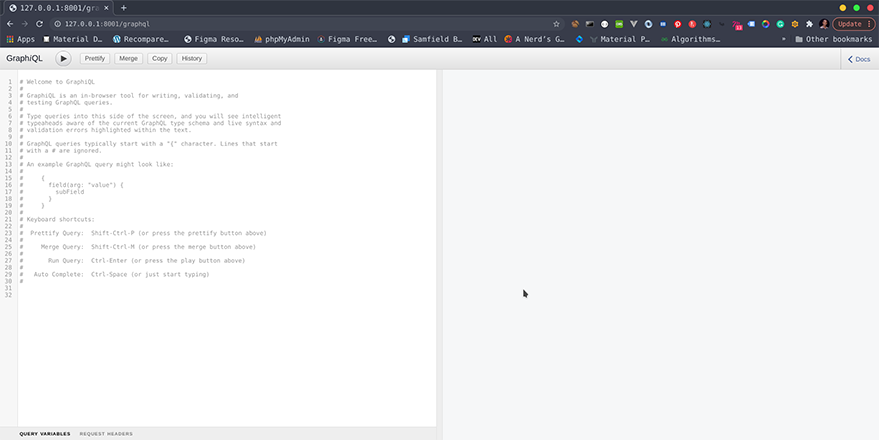
Graphql previewYou can play around with some of the following commands to query the data that was added via the admin site
{
  products {
    id
    name,
    price,
    quantity,
    category {
      id
      name
    }
  }
}
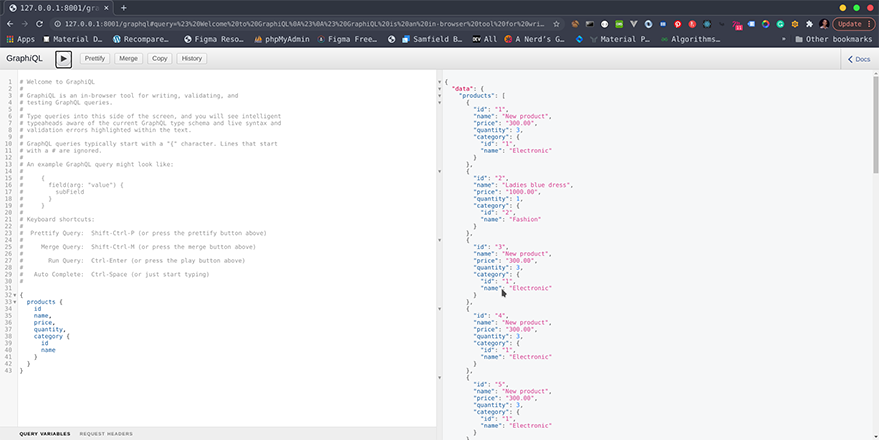
Graphql response previewOther commands to try out include:
{
categories {
   name,
   products
  }
}
{
products(category:'category name from previous query ') {
  id,
  name,
  description,
  price
 }
}
Here we added a filter to the query to query product in a particular category.
Creating and Updating
Now we can only query but can create or update. We can add the create and update features to our integration by updating our schema.py code to add this after the ProductType class:
...

class UpdateCategory(graphene.Mutation):
    class Arguments:
        # The input arguments for this mutation
        name = graphene.String(required=True)
        id = graphene.ID()

    # The class attributes define the response of the mutation
    category = graphene.Field(CategoryType)

    @classmethod
    def mutate(cls, root, info, name, id):
        category = Category.objects.get(pk=id)
        category.name = name
        category.save()
        # Notice we return an instance of this mutation
        return UpdateCategory(category=category)


class CreateCategory(graphene.Mutation):
    class Arguments:
        # The input arguments for this mutation
        name = graphene.String(required=True)

    # The class attributes define the response of the mutation
    category = graphene.Field(CategoryType)

    @classmethod
    def mutate(cls, root, info, name):
        category = Category()
        category.name = name
        category.save()
        # Notice we return an instance of this mutation
        return CreateCategory(category=category)

class ProductInput(graphene.InputObjectType):
    name = graphene.String()
    description = graphene.String()
    price = graphene.Float()
    quantity = graphene.Int()
    category = graphene.Int()


class CreateProduct(graphene.Mutation):
    class Arguments:
        input = ProductInput(required=True)

    product = graphene.Field(ProductType)

    @classmethod
    def mutate(cls, root, info, input):
        product = Product()
        product.name = input.name
        product.description = input.description
        product.price = decimal.Decimal(input.price)
        product.quantity = input.quantity
        product.category_id = input.category
        product.save()
        return CreateProduct(product=product)


class UpdateProduct(graphene.Mutation):
    class Arguments:
        input = ProductInput(required=True)
        id = graphene.ID()

    product = graphene.Field(ProductType)

    @classmethod
    def mutate(cls, root, info, input, id):
        product = Product.objects.get(pk=id)
        product.name = input.name
        product.description = input.description
        product.price = decimal.Decimal(input.price)
        product.quantity = input.quantity
        product.category_id = input.category
        product.save()
        return UpdateProduct(product=product)

class Mutation(graphene.ObjectType):
    update_category = UpdateCategory.Field()
    create_category = CreateCategory.Field()
    create_product = CreateProduct.Field()
    update_product = UpdateProduct.Field()

...


schema = graphene.Schema(query=Query, mutation=Mutation)
Here we introduce six new classes to handle our mutations. Class names are self-explanatory for what it will do. The final class Mutation is where the mutation actions get to register, which we then proceed to register our mutation in our Schema constructor
schema = graphene.Schema(query=Query, mutation=Mutation)
We can test out our mutations by these queries. Creating and updating categories
mutation {
 create_category:createCategory(name: "Books") {
  category {
   id,
   name,
  }
 }
}
mutation {
 update_category: updateCategory(name: "Electronic", id: 1) {
  category {
  id,
  name
  }
 }
}
Creating and updating products
mutation {

create_product: createProduct(input: {name:"New product",description:"a brief description", price: 300.00, quantity:3, category:1 }){
product {
id,
name,
description,
price,
quantity

}
}
}
mutation {
update_product: updateProduct(input: {name:"New product",description:"a brief description", price: 300.00, quantity:3, category:1 }, id:1){
product {
id,
name,
description,
price,
quantity
}
}
}
Conclusion
At the end of this brief tutorial, we have been able to integrate Graphql into Django using the Graphene-Django package. This package has a load of features that we are unable to introduce in this tutorial, deleting information and many other features Graphql offers. To get the best out of this package for your project, you can check out the package’s official documentation here. You can also read more about Graphql if you are not familiar with its rich features and functionalities. The source code for this tutorial can be access on Github. Thanks for reading and practicing along.