An Introduction to Finite State Machines: Simplifying React State Management with State Machines
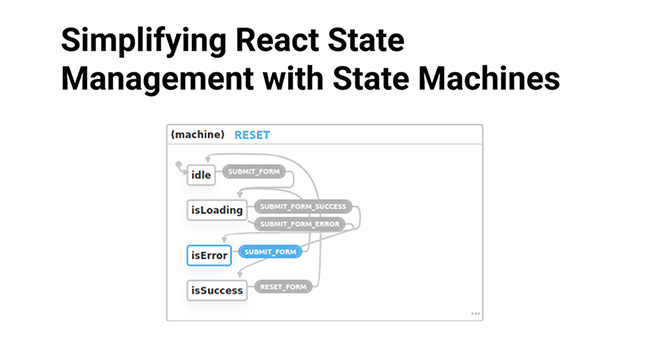
State machines are one of the oldest concepts in computer science but also one of the most useful. When combined together with React, they can drastically reduce bugs and complexity in your code.